In the world of knitting and crocheting, the slip knot marks the genesis of every project, serving as the foundational loop from which your creation begins to take shape.
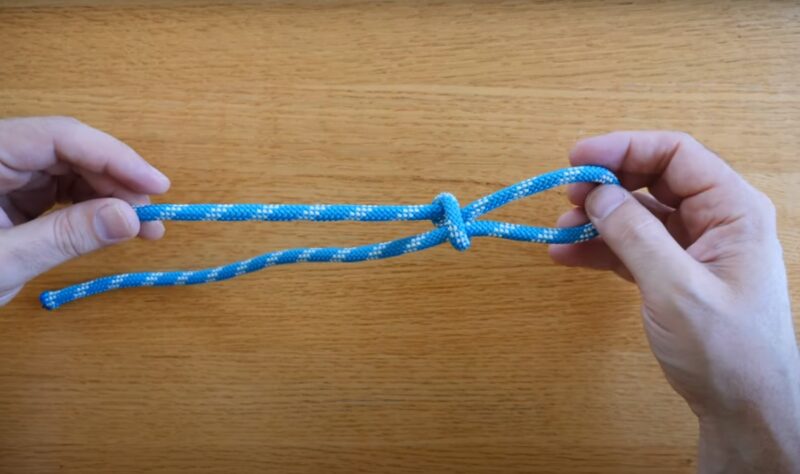
This versatile knot, beyond its initial role in yarn crafts, finds utility in fishing, climbing, and even survival skills, showcasing its importance across various disciplines.
However, the focus of our discussion today will be on its role in the realms of knitting and crocheting, offering an insight into the art of tying a slip knot.
In this guide, I will explain the complexities of the slip knot, ensuring that by the end, you’ll not only master this essential skill but also appreciate its significance in your crafting journey.
Key Highlights
The Importance of a Slip Knot in Knitting and Crocheting
Before we start with the “how,” let’s understand the “why.” A slip knot’s adjustability makes it the ideal starting point for knitting and crocheting projects.
Its unique structure allows you to tighten or loosen the loop with ease, providing the flexibility needed as you begin your work.
This knot ensures that your yarn has a secure yet adjustable anchor, essential for achieving the right tension and ensuring your project’s success.
Choosing the Right Yarn
Selecting the appropriate yarn is pivotal in crafting. The weight, gauge, and drape of your yarn can dramatically affect the outcome of your project.
These factors influence not only the appearance and texture of your work but also its functionality and durability.
Therefore, understanding the characteristics of your yarn is crucial before you tie your first slip knot.
How to Tie a Slip Knot: Three Methods Explained
There are several techniques to master the slip knot aside from using a knot-tying tool, each with its advantages.
Let’s explore three different methods to find the one that resonates most with you.
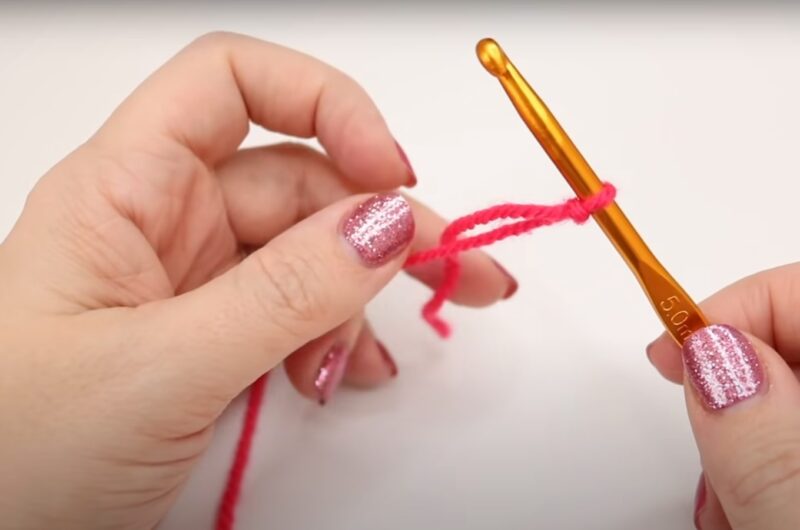
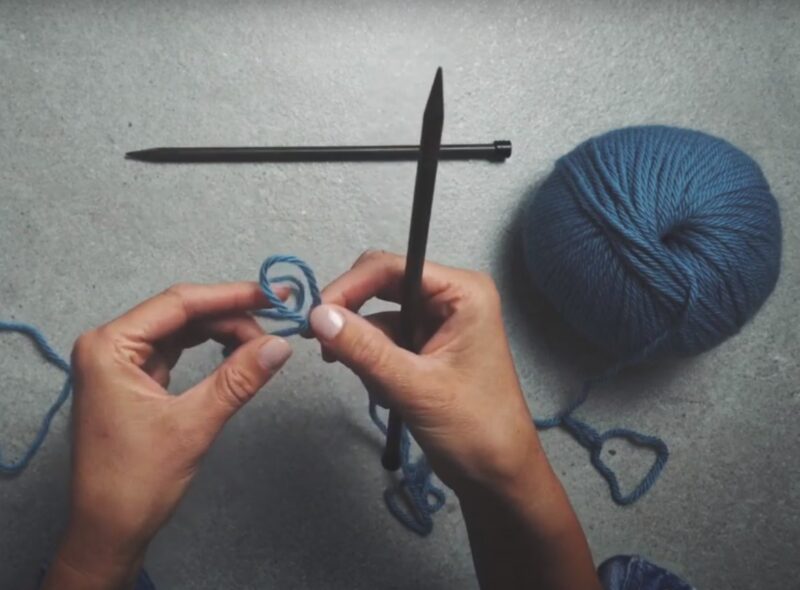
Method 1: Pull Yarn Through a Loop
- Create a Loop: Hold the yarn so that the tail hangs behind your hand. Loop the yarn around your fingers, crossing the working yarn over the tail to form a circle.
- Pull Through: With your fingers or a crochet hook, grab the working yarn through the loop you’ve just created.
- Adjust: Tighten the knot by pulling on both the loop and the tail, adjusting to the desired size.
Method 2: Feed One Loop Through Another
- Form Two Loops: Make a loop near the end of your yarn, then create another loop by folding the first one onto itself.
- Feed Through: Insert the second loop through the first one.
- Tighten: Pull the tail to close the first loop around the second, securing your slip knot.
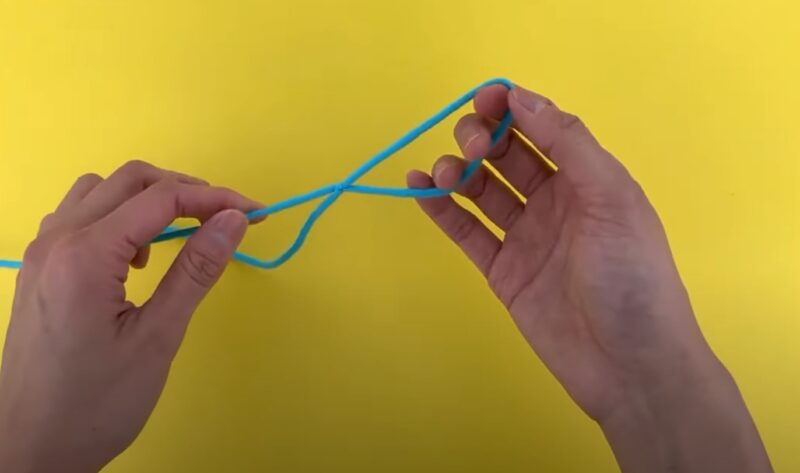
Method 3: Flip a Loop Over the Yarn
- Make a Loop: Lay the yarn in a loop so the tail is on top and crosses over the working yarn.
- Flip: Flip the loop over the working yarn, keeping the cross inside the loop.
- Secure: Tighten by pulling the tail, adjusting the loop to your preferred size.
Tips for Mastery
- Animated Examples: Visual learners might benefit from animated examples or video tutorials, offering step-by-step visuals to accompany these instructions.
- Undoing a Slip Knot: Simply pull the tail to release the knot. It’s designed for easy undoing, making adjustments a breeze as you start your project.
- Joining Different Color Yarns: When adding a new color, tie a slip knot with the new yarn around the existing working yarn for a secure and neat transition.
Safety First: A Word of Caution
While the slip knot is a tool of the trade in crafting, it’s essential to use it responsibly, especially around children.
Never tie knots around the neck, as it poses a significant choking or strangling risk. Safety should always be your top priority.
Advanced Tips
As you become more comfortable with the basic techniques of tying a slip knot, you might want to refine your skills or learn how to apply them more effectively in your projects.
Here are some advanced tips to help you elevate your crafting experience.
Experiment with Tension
The beauty of the slip knot lies in its adjustability. Learning to control the tension of your slip knot is crucial for projects that require precision and consistency.
Practice tightening and loosening your knot to understand how it affects the starting loop of your project.
This skill will improve not only your initial setup but also the overall look and feel of your finished work.
Utilize the Slip Knot in Project Design
Think of the slip knot not just as a starting point but as a design element.
In some patterns, especially in crochet, slip knots can be used strategically for adding decorative elements or for functional purposes, like creating adjustable rings for amigurumi toys.
Exploring these creative uses of slip knots can add depth and uniqueness to your projects.
Mastering Multiple Yarns
When working with multiple yarns, either for color work or for added texture, mastering the slip knot becomes even more critical.
Practice tying slip knots with two strands of yarn simultaneously for a secure start to multi-strand projects.
This skill can enhance the durability and aesthetic appeal of your work.
Common Slip Knot Issues
Even with practice, you might encounter some challenges when tying slip knots. Here are solutions to some common issues:
- Knot too tight or too loose: Adjust the tension by pulling the tail and the working yarn gently until you reach the desired tightness. Remember, the slip knot should move smoothly along the yarn but stay in place when not being adjusted.
- Yarn frays or breaks: This could be a sign of poor quality yarn or incorrect handling. Ensure you’re not pulling too hard and consider using a higher quality yarn for projects that require frequent knot adjustments.
- Difficulty with slippery yarns: Some synthetic yarns can be slippery, making knots less secure. Use a slightly different technique by making an additional twist in the loop before pulling the tail through, which can help secure the knot.
FAQs
What’s the best method to tie a slip knot for beginners?
The best method is the one that you find easiest to understand and replicate.
Many beginners find the “pull yarn through a loop” method to be straightforward and easy to master.
Can I use a slip knot for projects other than knitting or crocheting?
Yes! The slip knot’s versatility makes it useful in fishing, climbing, and various survival skills.
However, its application will vary depending on the context and the specific requirements of the activity.
How do I choose the right yarn for my project?
Consider the project’s intended use, desired appearance, and feel. The weight, gauge, and drape of the yarn are crucial factors.
When in doubt, consult the pattern recommendations or seek advice from experienced crafters.
Final Words
Slip knot symbolizes the beginning of something new, holding the promise of what your yarn might become.
Whether you’re a seasoned pro or a newcomer to the craft, mastering the slip knot is an essential skill that lays the groundwork for all your projects.
As you practice these methods, remember that the right technique is the one that feels most comfortable for you.
Experiment with different approaches, find your rhythm and let the slip knot be the start of many beautiful creations to come.